
Since we’re all safe at home these days, I wanted to post another D.I.Y blog in case you now have the time to spice up your wedding or event a little more than originally planned!
While working with a full planning client last year, the bride sent over a copper pipe table number holder inspiration photo and I was in love at first site. I knew we had to make these for her special day!
Obviously, you can use these holders for many day-of items other than just table numbers such as menus and additional signage [gifts/cards sign, guest book sign, escort cards sign, signature drink signs, etc].
I hope you enjoy and please tag Rachel Kendall Events if you use this tutorial to make your own masterpieces. I would love to see them!
If you have any questions, feel free to email me.
Also, thank you to the stellar ladies at BaM Co-Create who are featuring this blog on their site as well, click below!
Step #1: Collecting Your Materials
The main materials you will need are copper pipe and a base. For the copper pipe I did a lot of research to find the cheapest option for my client. I even went into Frederick Noland Co., a full-service wholesaler specializing in Plumbing and HVAC, to see what options they had available. I will say it was quite funny explaining my DIY wedding project to the manly gentleman behind the counter 😉
With help from my husband, I found that ½ inch pipe, although a little bigger than desired, would be the best option. Our desired size would have been ⅜ inch pipe but because that’s rare and not commonly stocked in stores, it would be more expensive. If budget and timing is not a problem then I’d say find ⅜ inch and order them!
Since we settled on ½ inch pipe I decided to just purchase all supplies for the piping at Home Depot.
For the bases, my husband was kind enough to use some scrap wood he had to make the bases. If you don’t have this option, you can purchase wooden bases at any craft store [Michael’s, Hobby Lobby, etc.] and finish however you please to match your wedding design + vibe.
Once you have your pipe + bases, collect the rest of the items below and you will be ready to get crafting!
Materials Needed:
- ⅜ inch or ½ inch Hard Copper Pipe [amount depends on the size you’re doing and amount you’re making. I purchased 20ft and made 15 holders]
- ⅜ inch or ½ inch Copper 90’s [you will need as many as the number of holders you want to make]
- ⅜ inch or ½ inch Copper Caps [you will need as many as the number of holders you want to make]
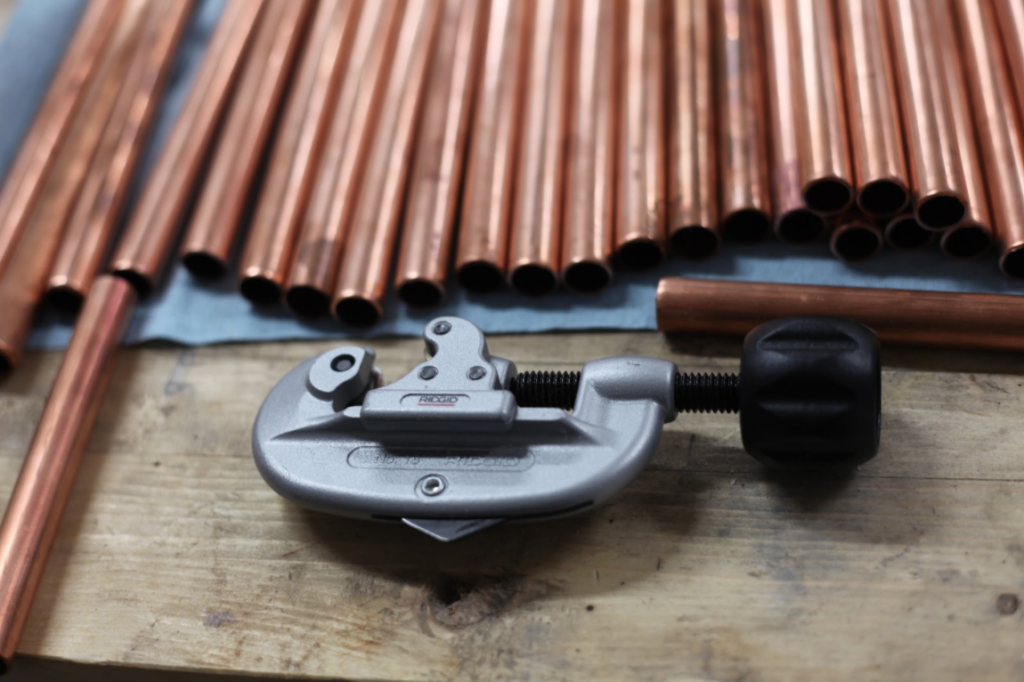
- Pipe Cutter
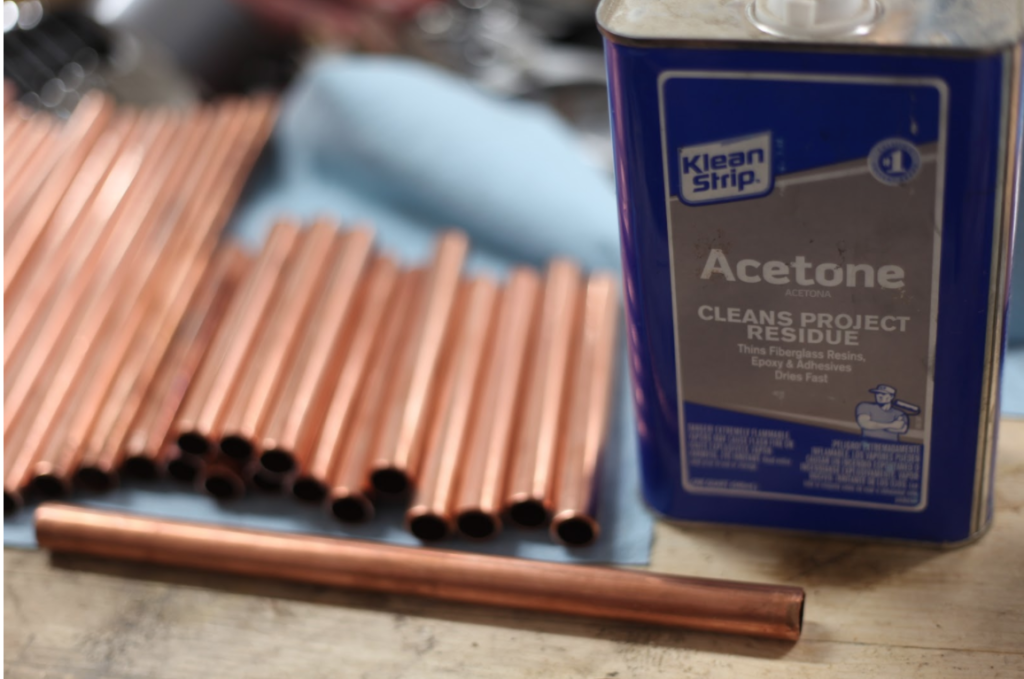
- Acetone
- Ruler/Measuring Tape
- Pencil
- Paper Towels
- Wooden Bases
- Finishing Stain/Paint [I used varnish to keep the natural wooden color]
- Paint Brush [foam or regular depending on your finish]
- Sand Paper
- Table Numbers/Signs
- Hole Puncher
- Scissors
- Double-Sided Tape
- Ribbon/Copper Rings [whatever you wish to use to tie the signs onto the holder]
Step #2: Cutting the Pipes
First off I decided on the measurements I would want for the final product. I ended up deciding that 5.5” long x 10” tall would be perfect to fit a 4” x 6.5” table number. Remember for the shorter pipe piece, the copper 90 and cap will add a little length.
I used a pipe cutter to cut out fifteen 10” pipe pieces and fifteen 5.5” pipe pieces. It was a pretty fast process once I got the hang of the pipe cutter! You basically just measure your length and make a little mark with a pencil. Then take the cutter and place it right on the line. Tighten it all the way and start moving it back and forth until it cuts through!
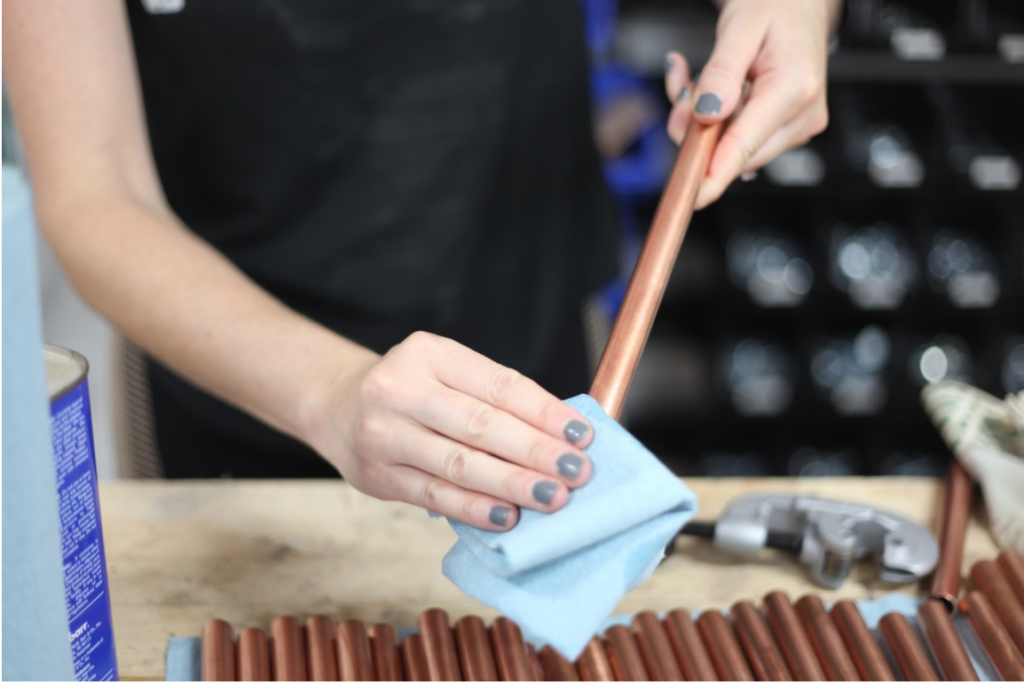
Step #3: Finishing the Pipes
Once all pieces have been cut, I took some Acetone and wiped them all down. This removed any marking numbers that were printed on the pipe, since they are real pipes used for houses, and shined up that beautiful copper!
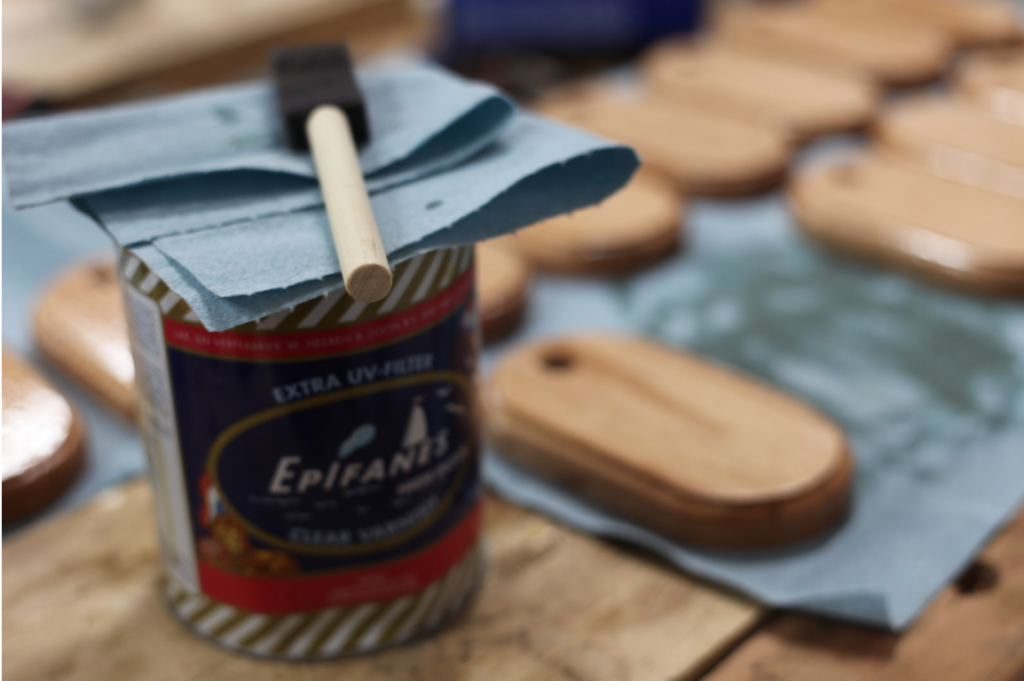
Step #4: Finishing your Bases
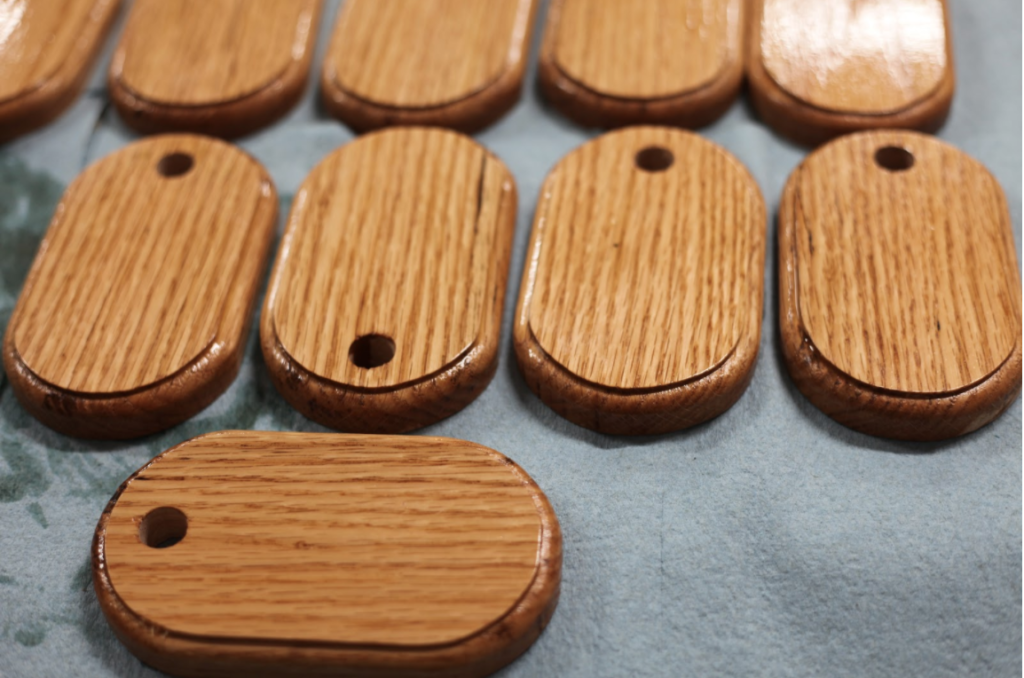
Now that the piping is pretty much ready to go, it’s time to finish up the bases. Again, my husband is an amazing woodworker and was able to make these bases with scrap wood he had around the house. I did look at crafting stores and was able to find different size and shape wooden bases at Michael’s. You would probably just have to drill a hole in them to fit your size piping. And, of course, finish them as you please!
Since the wedding design included a lighter, more natural, wood we decided to keep the natural color and just use some leftover varnish we had at the house to give them that finishing look! You can use any type of stain, or even paint them, to match your design/vibe.
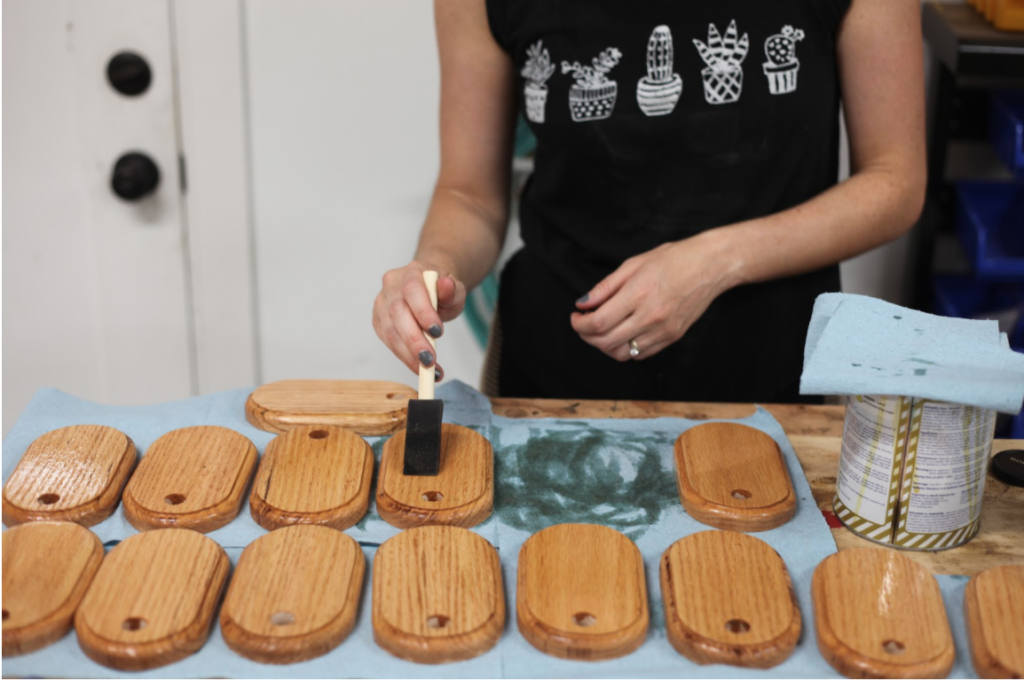
I laid all bases down on paper towels and painted the varnish on with a foam paintbrush. Varnish can be very sticky so I did wear gloves, despite the photo below 😉 After one coat I did a light sanding and then laid on one more coat, for a total of two coats before they were finished!
Step #5: Assembling your Holders!
Once your bases are dry, it’s time to assemble your final pieces!
Since we were using these for an indoor reception [no wind factor!] and I wanted to be able to take them fully apart for storage, I didn’t use any type of adhesive to keep the pieces together. You can use epoxy or gorilla glue if you want to make sure these stay on forever. I did find that even without any adhesive they were durable.
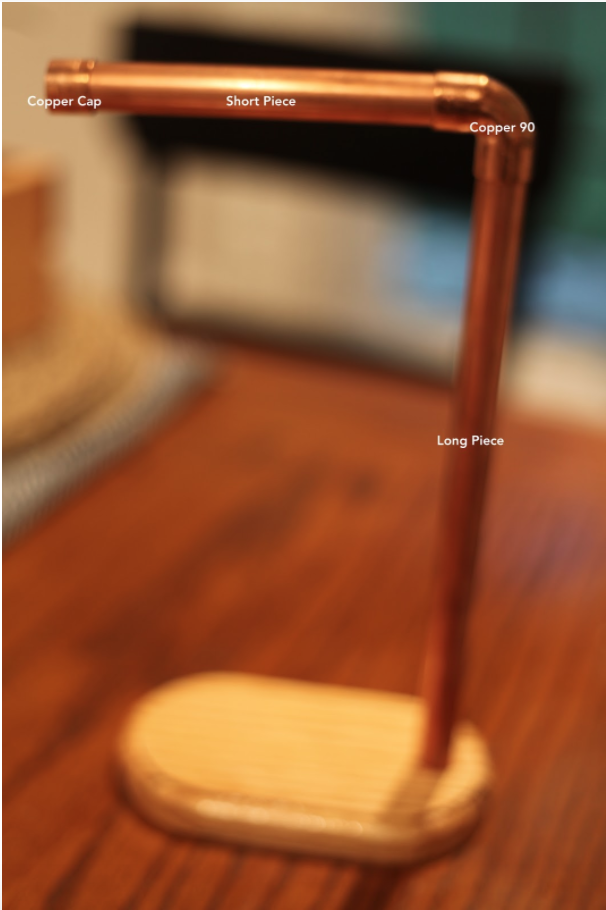
For the assembly, you take one of your longer, 10”, pieces and put a 90 on the top, then insert the shorter, 5.5”, piece. Then put the cap on the end of the 5.5” piece. Finally, insert the full piece into your wooden base!
Step #6: Adding your Signage
Now your holders are fully finished, congrats!
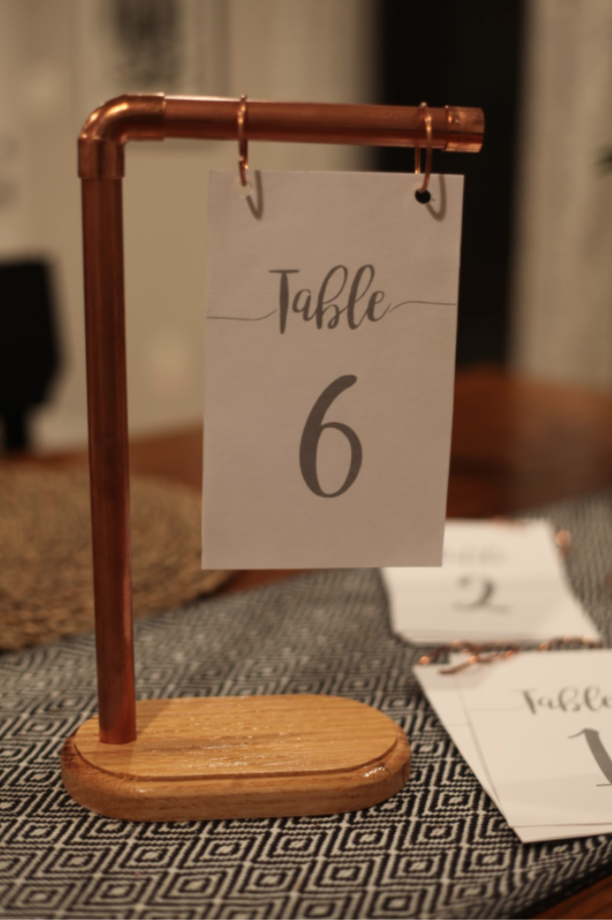
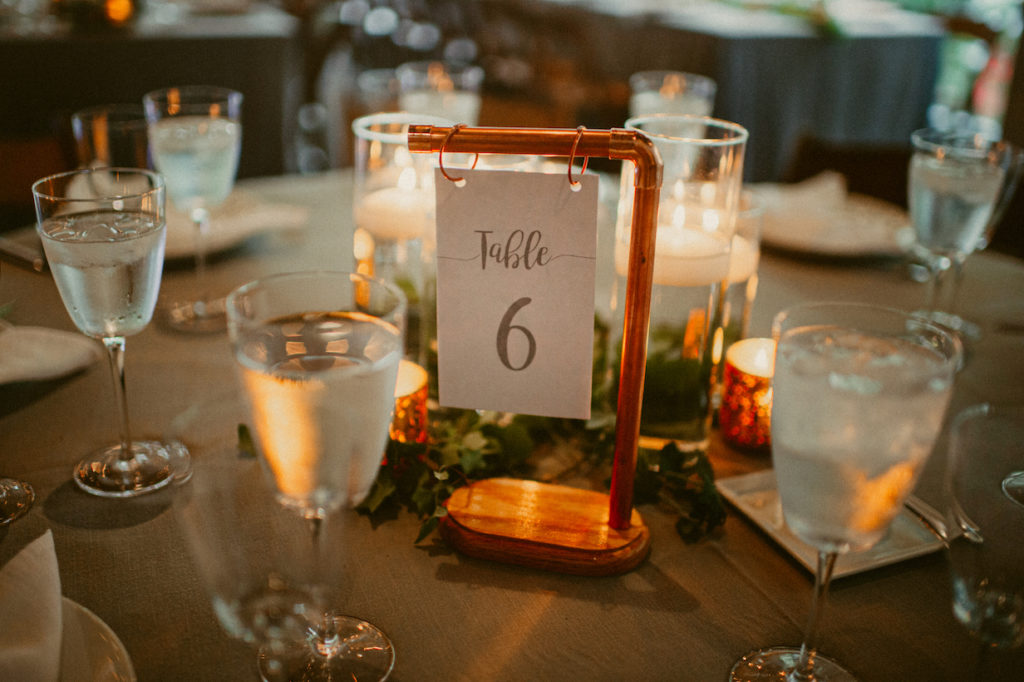
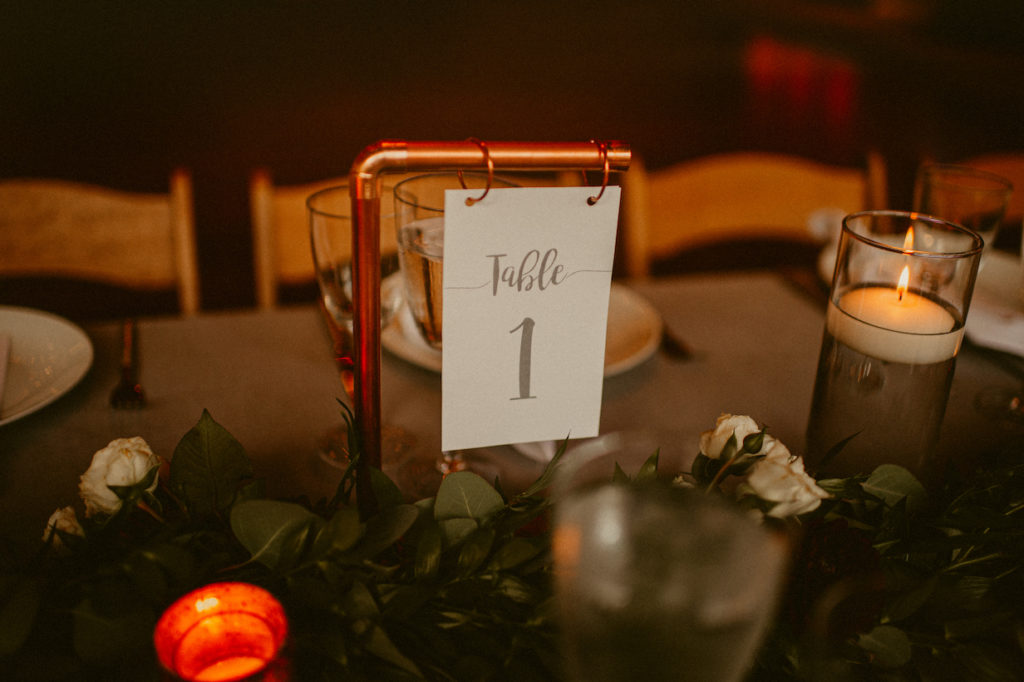
From here, you can add any type of signage you desire to them. We used the holders for table numbers, so I created table numbers in Photoshop that matched the fonts + colors from other signage/their invitations. You can do whatever you please here!
After I designed the table numbers, we got them printed at Staples on heavier cardstock. I got enough to make them double sided, so guests could see what table it was from any angle of the room.
From here, I cut the table numbers to size, 4” x 6.5”, and used double sided tape to tape two of the same number together. After trying different types of glue, I’ve found that double sided tape is best for this!
Once all your numbers, or signs, are cut out you can place two holes at the top with your hole puncher. This brings us to another huge decision that’s 100% up to you, what to use to attach the signage to your holders. You can use ribbon, twine, rings, whatever you like best to match your wedding design + vibe.
While assembling these, I really had no idea what I was going to like best to use as the attachment material. I had purchased a few different types of ribbon to try and had some other options laying around the house. At the end of the day I realized that all I wanted were thin copper rings. Since my husband is a Renaissance man, he gave me some leftover electrical wire he had and a wire stripper tool to strip the casing of the wire. To my surprise, beautiful thin copper wire was under the casing! I then used a soy sauce bottle to bend this flexible wire into a ring shape. I used a few different bottles around the house until I found one that was the circumference I desired for the rings to hang nicely on the holders.
After all table numbers are attached, you’re done!


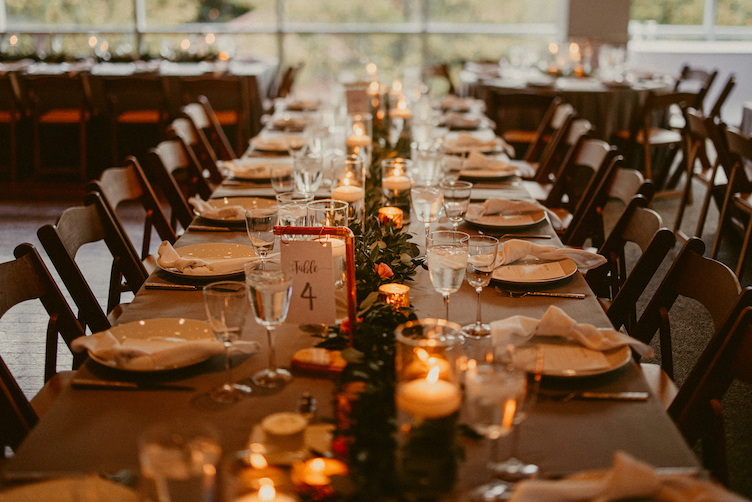
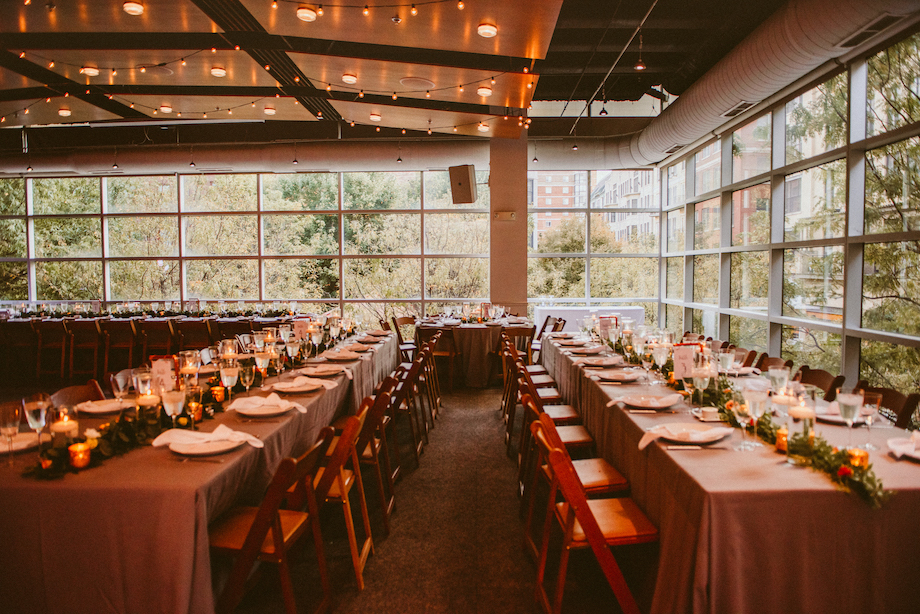
Step #7: Display at Your Wedding!
You now have a unique and personalized addition to your wedding and event! These holders fit in perfectly with the family-style tablescape we had planned for their wedding.
[photo credit on all below images: Wander & Range Photography]
Now, get crafting everyone!
Cheers!
Rachel
